- Secure and timely shipping with UPS. National coverage ensures your products arrive wherever you are in the USA.
How to Transplant Cannabis Seedlings – Step-by-Step Grower Tips
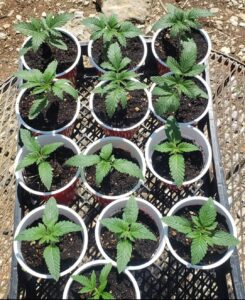
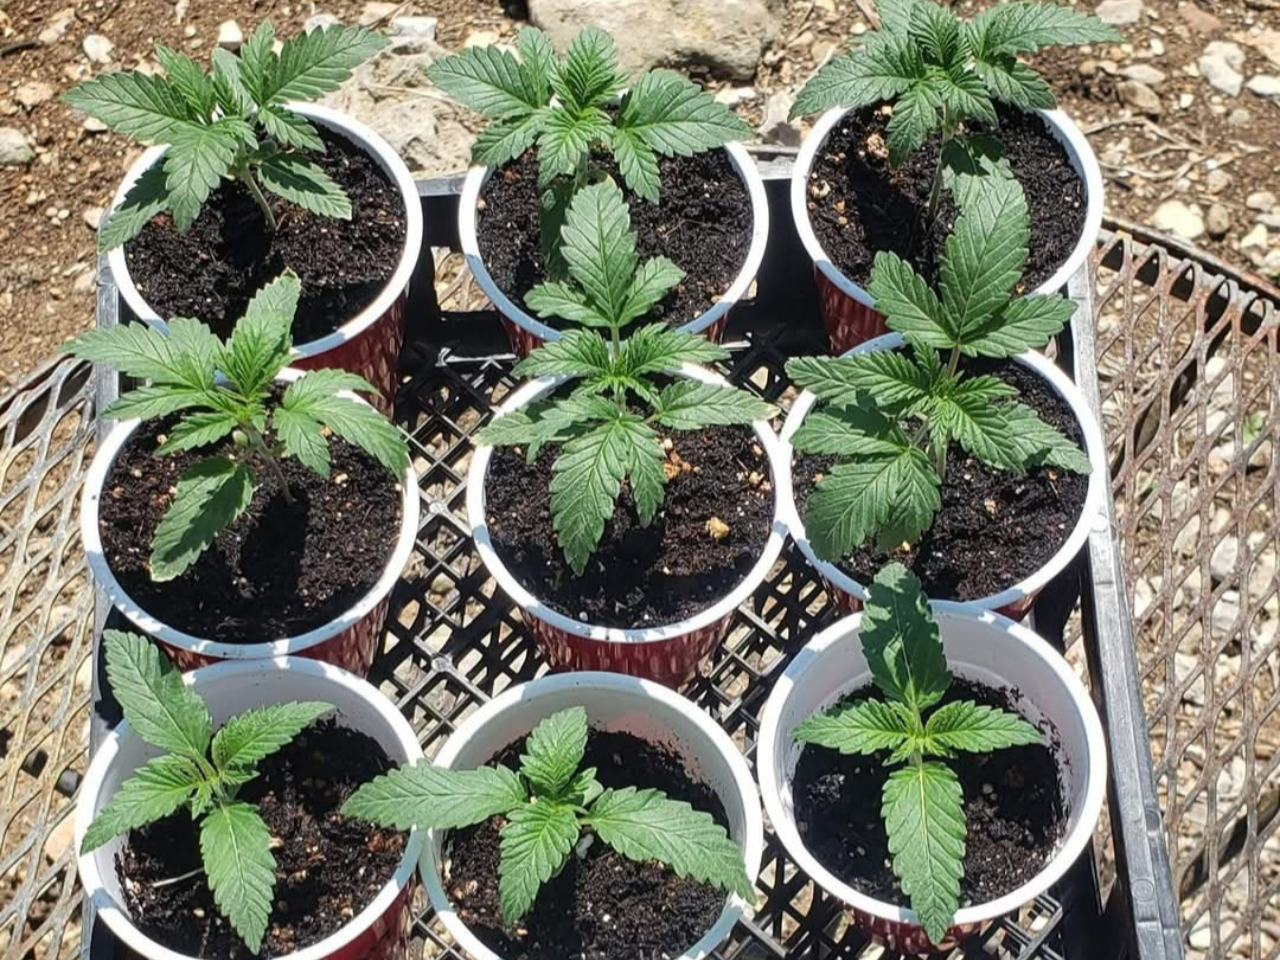
Our seedlings are two weeks old and ready for an up-pot. We’re going up from the 9 oz Solo cups to 6″ pots. The mix in our new pots is a 50/50 blend of nutrient-dense living organic soil (boosted with Ancient Earth) and a high-quality peat-based organic start mix.
Two week old seedlings ready for an up-pot
Let’s go over the process.
- First, we need to mix our soil. We’ll be transplanting six plants into 6″ pots. Thoroughly blend your soils to give your cannabis seedlings the best start.
- Second, fill each pot up to about an inch from the top.
- Third, we water the soil. Prior to adjusting your pH, let tap water sit for 24 hours. For precise results, we recommend using a Pro 5-in-1 pH Meter to hit that 6.5 sweet spot.
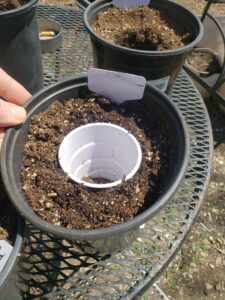
- Next, create a planting hole using a 9 oz Solo cup for a true “plug-and-play transplant.”
To Remove Your Seedlings from the Cups
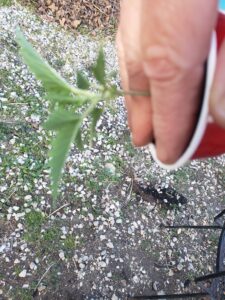
- Gently squeeze around the cup to loosen the soil plug. Place your hand over the soil with the stem between your fingers and turn it upside down.
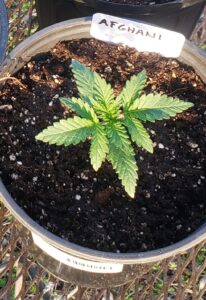
- Gently place your transplant into the pre-made hole. Ensure it is tucked in snugly.
- Lightly water around the transplant. This is the perfect time to add Root Wizard Beneficial Bacteria to encourage the roots to expand and prevent stress.
You have a successful cannabis transplant!
Note: Although transplant shock isn’t usually an issue with this “plug-and-play” method, avoid placing new transplants in direct sun immediately.
Stay tuned… Next installment: Vegetative Growth.

